
Learn polymer clay
Free lessons from the studio
We teach Pakistan polymer clay. Start with the free tips and videos below, then pick up real clay and tools, or go deeper with the online masterclass.
Watch on YouTube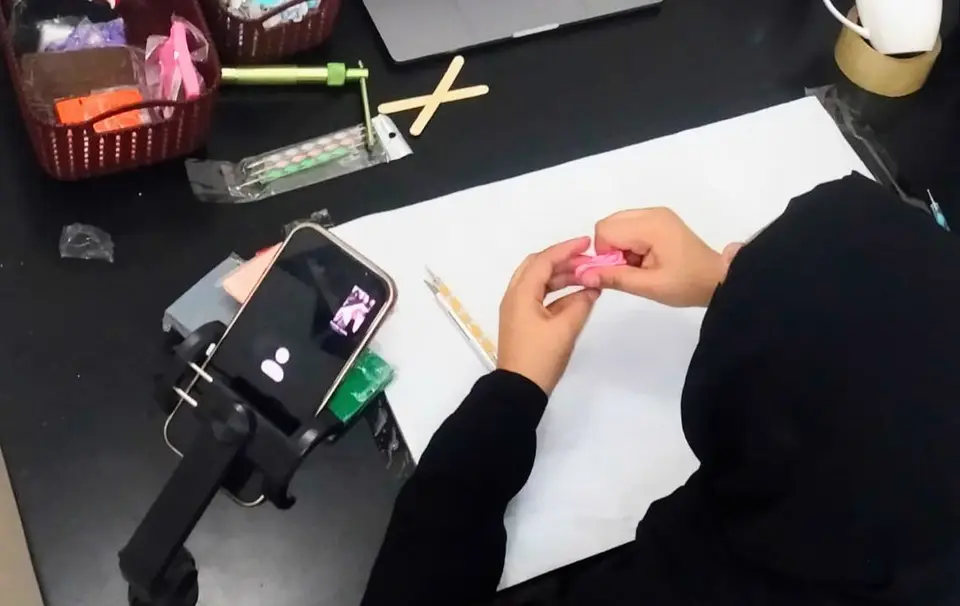
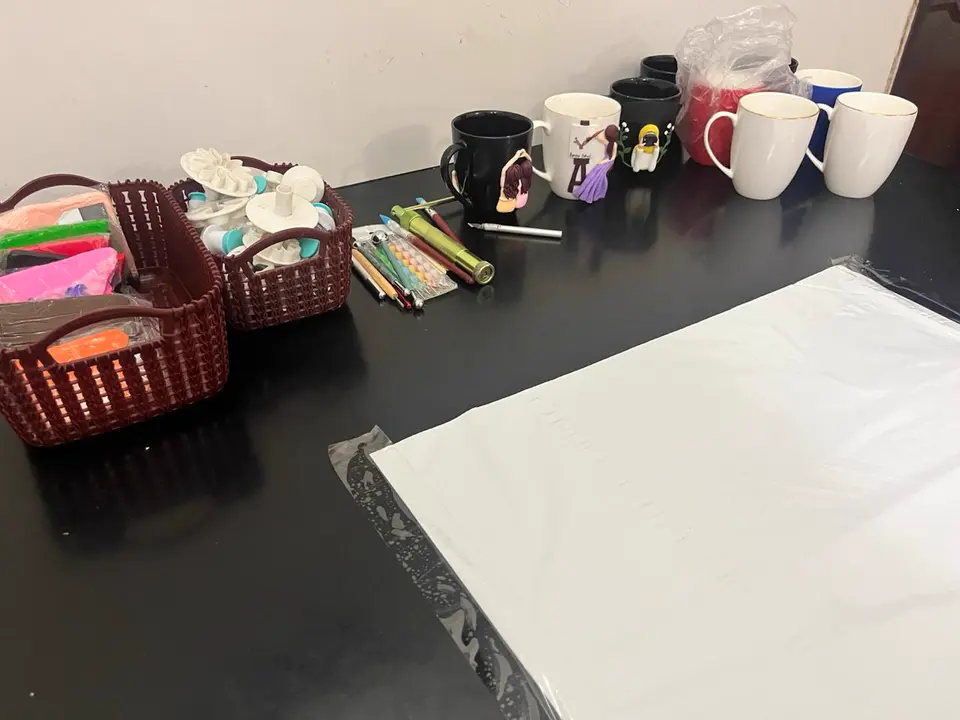
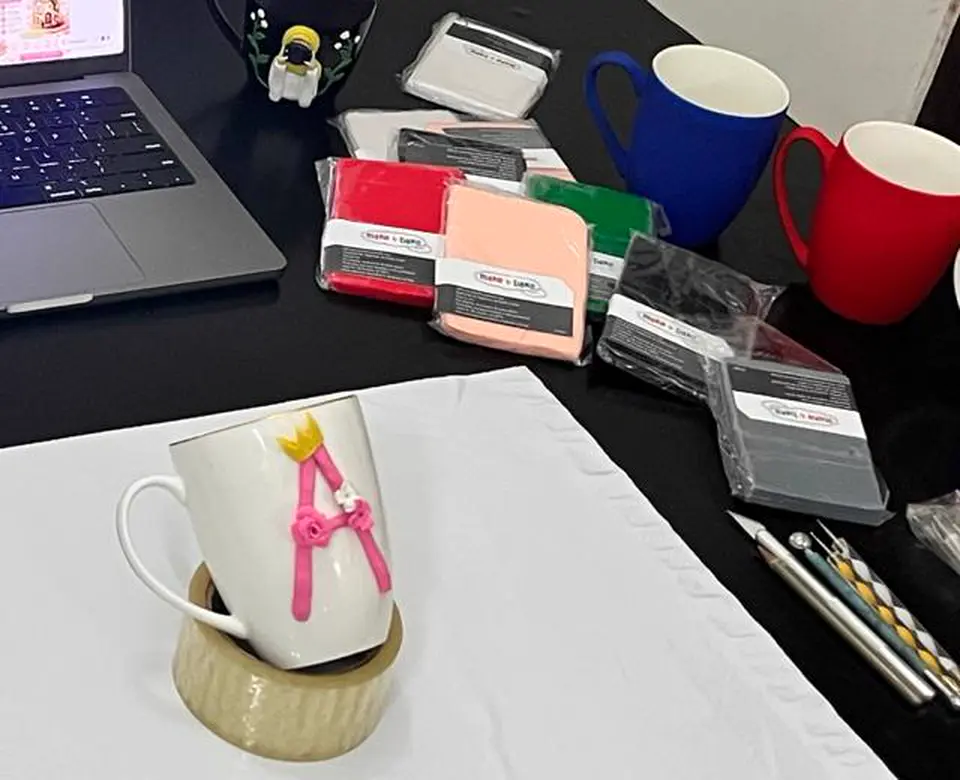
Video lessons
Watch us work
Our free videos live on YouTube at @polymerhands. Here’s a taste of the studio, filmed at our desk.
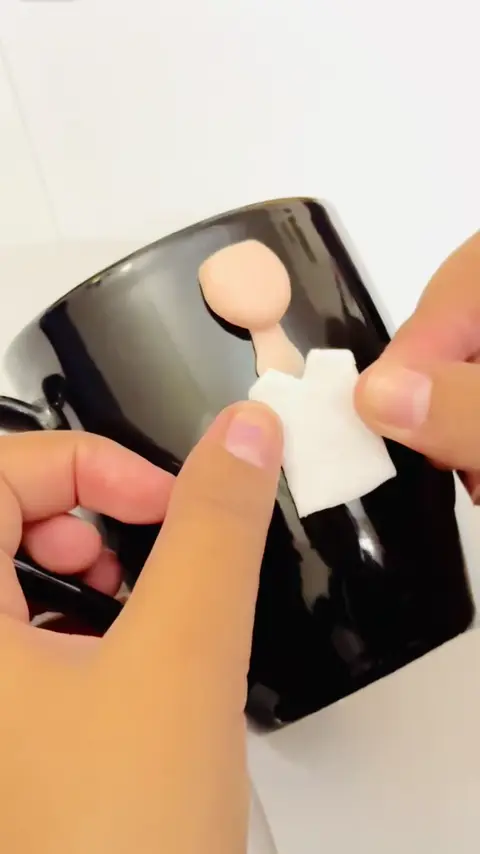
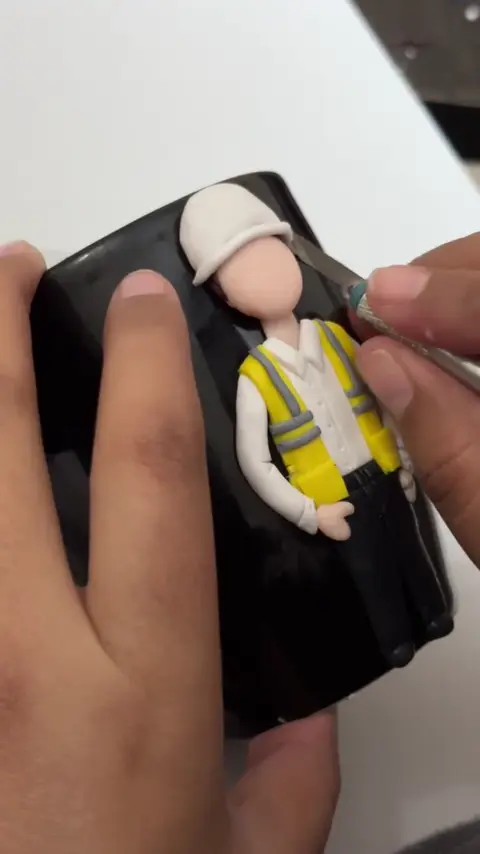
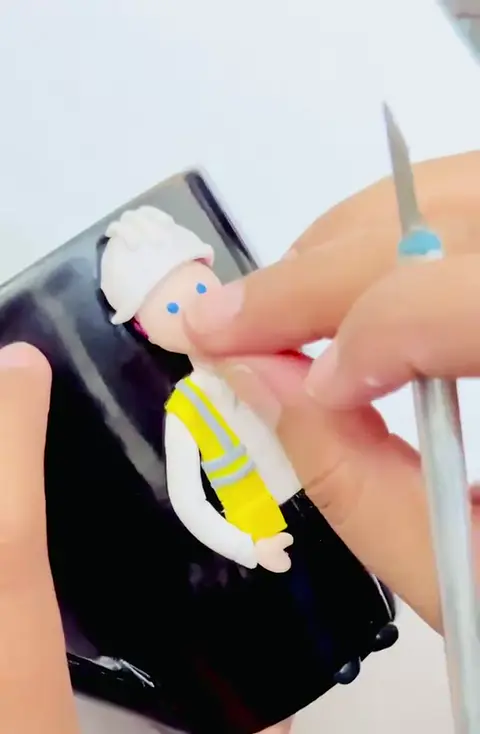
@polymerhands on YouTube
Step-by-step videos on sculpting figures, making mugs and working with polymer clay. Free to watch.
Open the channelFree tips
Six habits for neater figures
- Tip 1
Condition the clay first
Knead and roll each block in your hands until it is soft and smooth before you shape anything. It cracks less and joins better.
- Tip 2
Mix your own shades
Blend small amounts of two colours until no streaks remain. Make a little more skin tone than you think you need, so every piece matches.
- Tip 3
Build from simple shapes
Bodies, heads and limbs all start as balls, logs and teardrops. Get the proportions right before adding detail.
- Tip 4
Keep your work clean
Light colours pick up dust and dark clay. Wipe your hands and tools between colours, and work on a smooth, clean surface.
- Tip 5
Bake as the pack says
Polymer clay sets in a home oven. Follow the temperature and time printed on your clay’s packet, and let pieces cool before handling.
- Tip 6
Take your time
Clay stays soft until it is baked, so you can adjust and fix as you go. Our own mugs take 7–10 days for a reason.
Ready to start?
Clay, tools and the masterclass
Everything you need to make your first figure, and a course that covers every step we use on our own mugs.
Read
From the blog
care
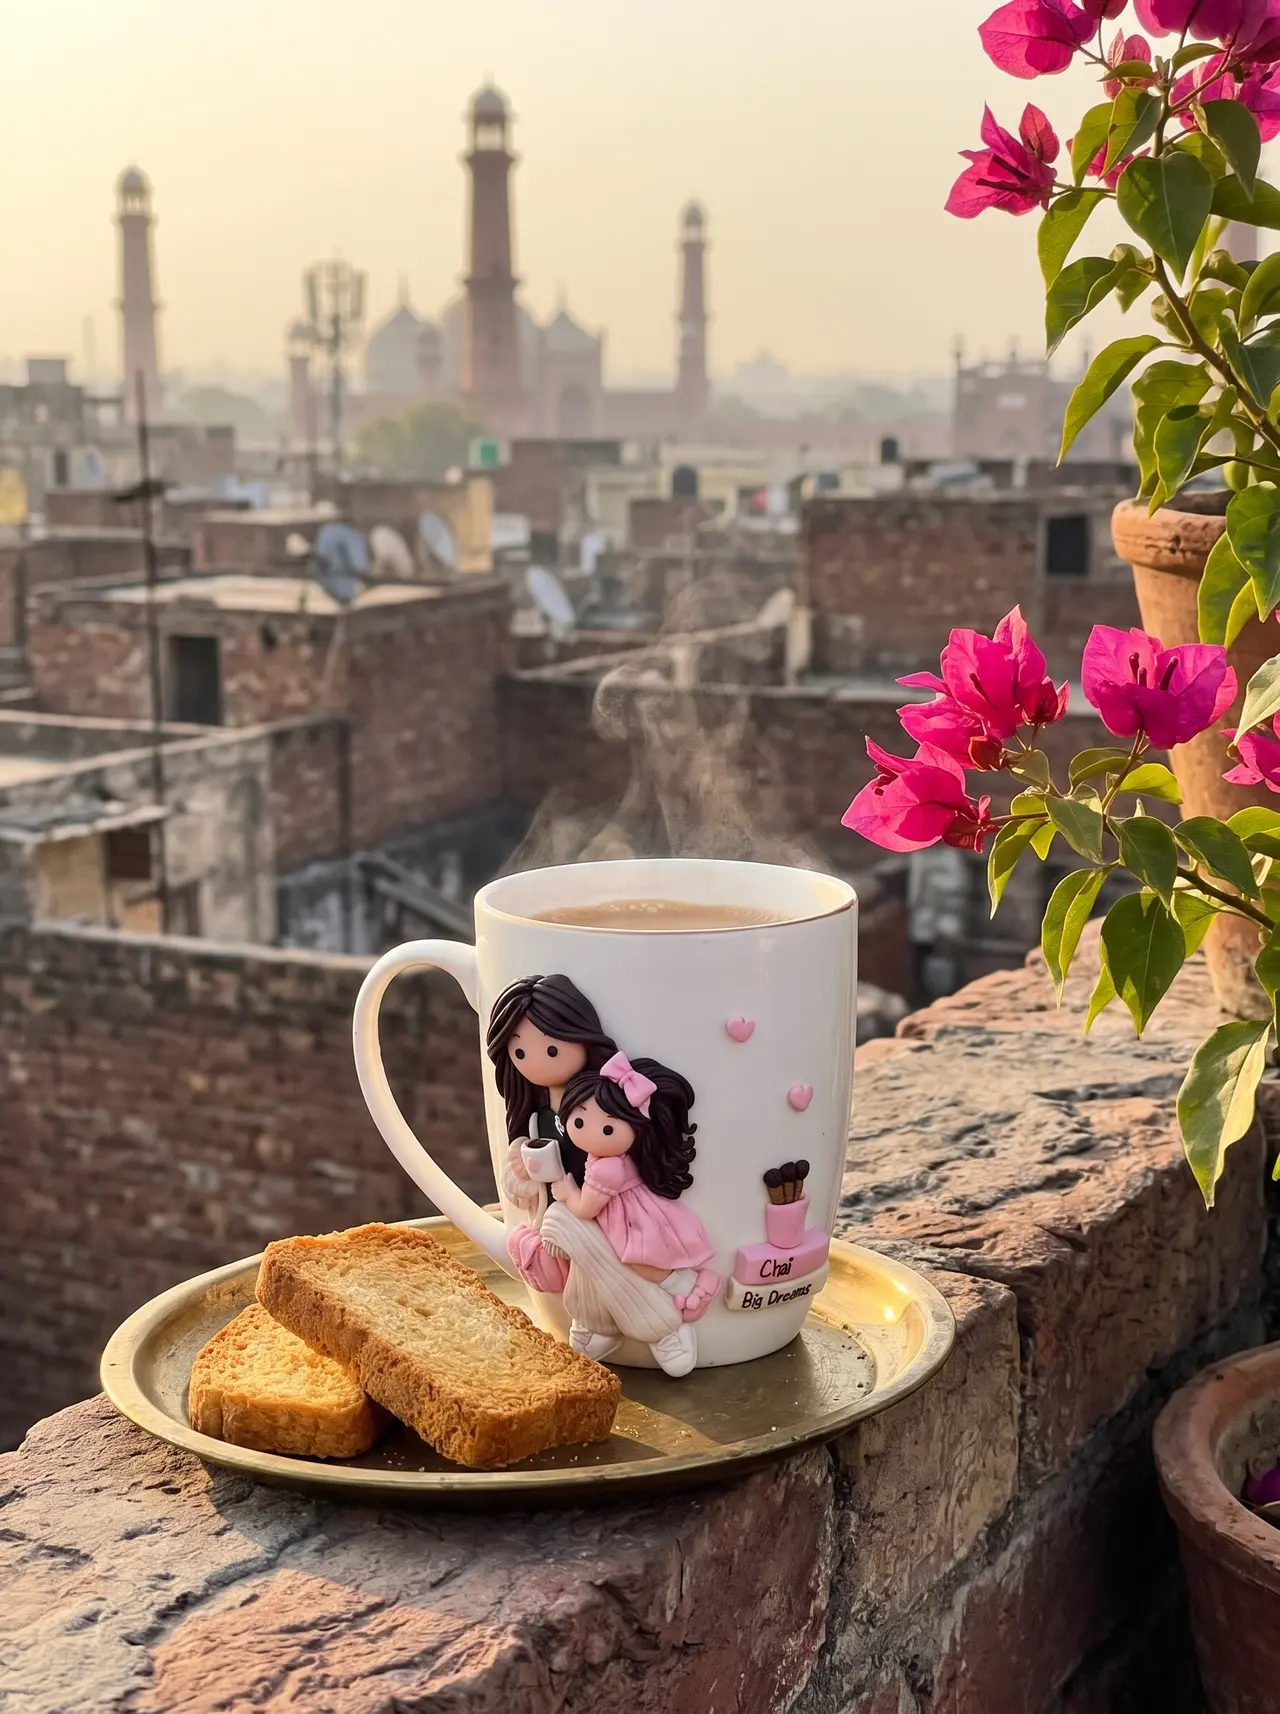
Clay mug care guide: microwave, dishwasher and washing
No microwave, oven or dishwasher: how to wash a hand-sculpted clay mug, keep the figures safe and what to do if it arrives damaged.
27 Oct 2026 · 3 min read
process
How a polymer clay mug is made: 7 steps from clay to your hands
From your reference photos to the parcel at your door: sculpting, baking, painting and packing, step by step, from our studio in Lahore.
20 Oct 2026 · 4 min read